


Product Description
Pump Conversion Kit, 12v
This motor is compatible with the:
S-Pump -Pump part number: 317201200 (12v), 317202400 (24v)
T-Pump -Pump part number: 317301200 (12v), 317302400 (24v)
VG4 -Pump part number: 317780012 (12v), 317780024 (24V)
Due to the loud nature (thumping) of the older Vacuum & Discharge Pumps, SeaLand manufactured a 'Whisper Conversion Kit' to replace (and upgrade) your motor from the smaller motor that is mounted at a 45° angle - and provides the redesigned 90° motor and the compatible parts (all for the same price as just the motor, part # 385311065)
Kit Includes:
Motor
Bellows
Eccentric
O-rings
Bellows Clamps
Bellows Bolt
The new motor is not compatible with the old bellows so to ensure all the new parts are used together, also ensuring a quieter pump, they included the necessary parts at no extra charge. This kit replaces part number 385311065
NOTE: Make sure you know what style pump you have. The current 'Whisper Conversion Kit' comes with the newer style 8-bolt o-ring kit (8-bolts holding the top of your pump to the bottom portion). Some of the older pumps are clamped closed and that requires a different set of o-rings. If you have this style pump, you will choose the "Clamp Style" in the options drop down (Pump images shown above)
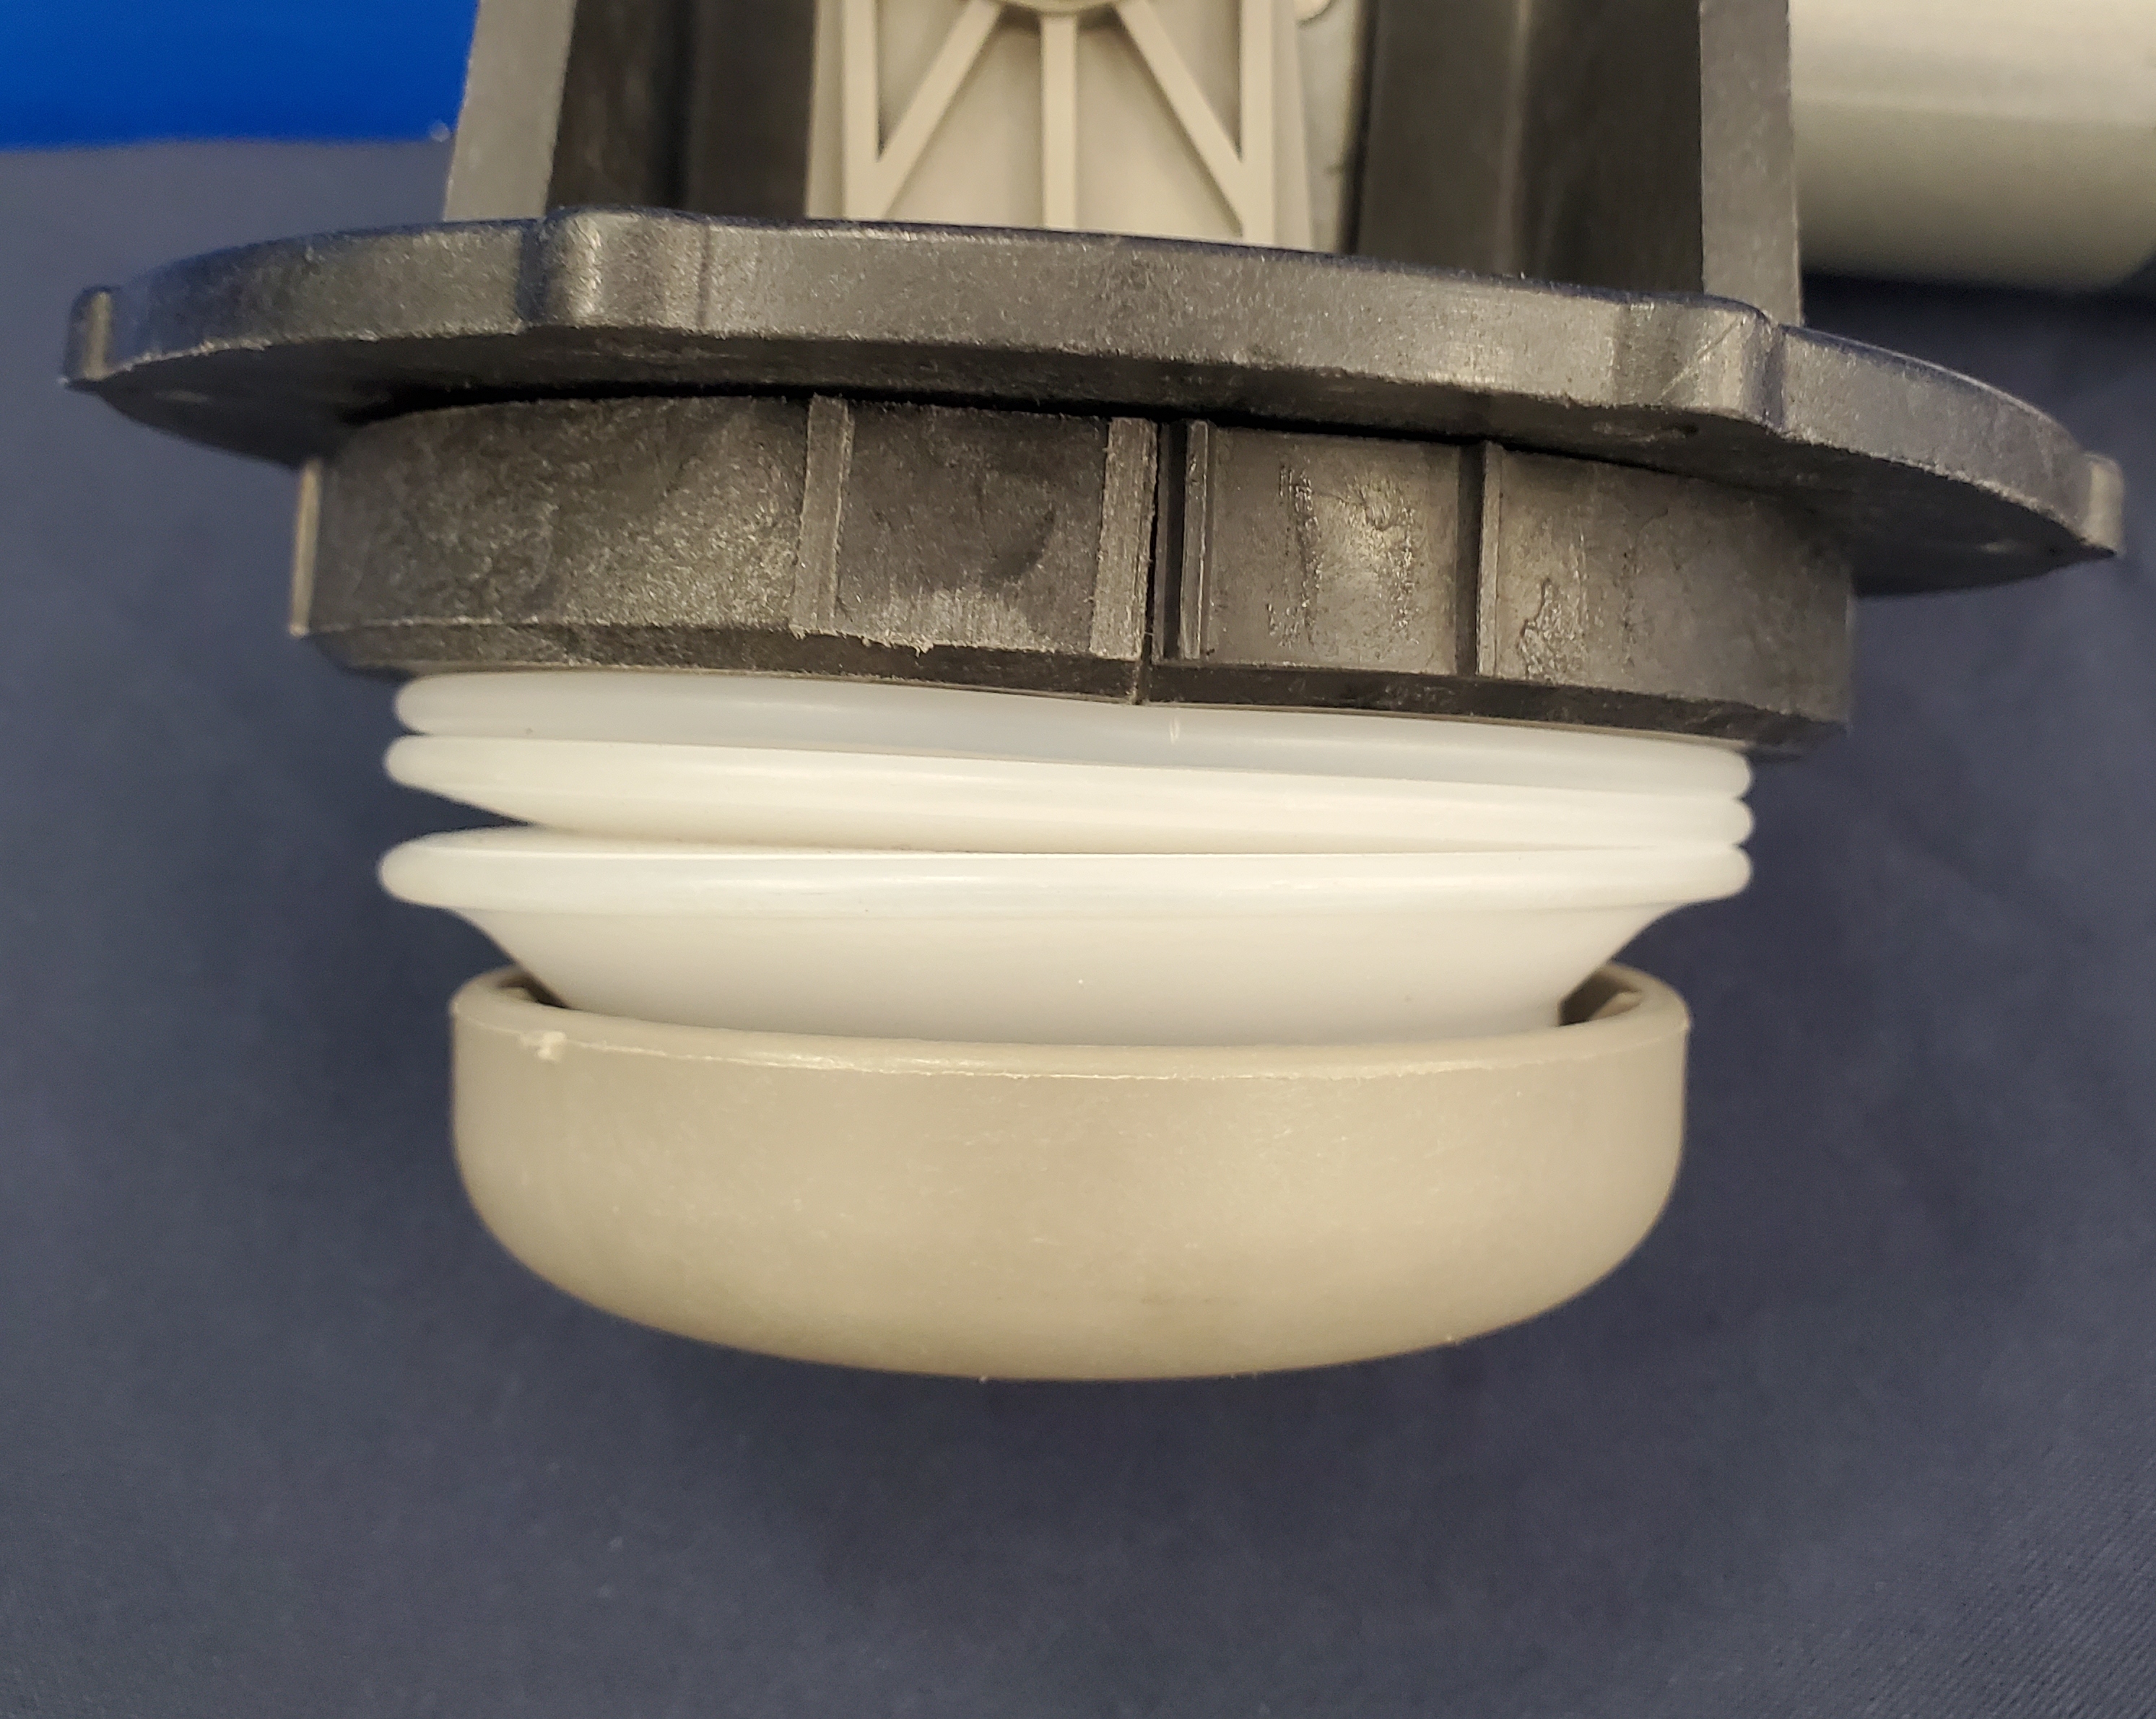
Bellows Installation Tips:
STEP 1: Make sure the o-ring is INSIDE the top lip of the bellows!!
STEP 2: Snap the bellows into place by squeezing the bellows and the pump top together.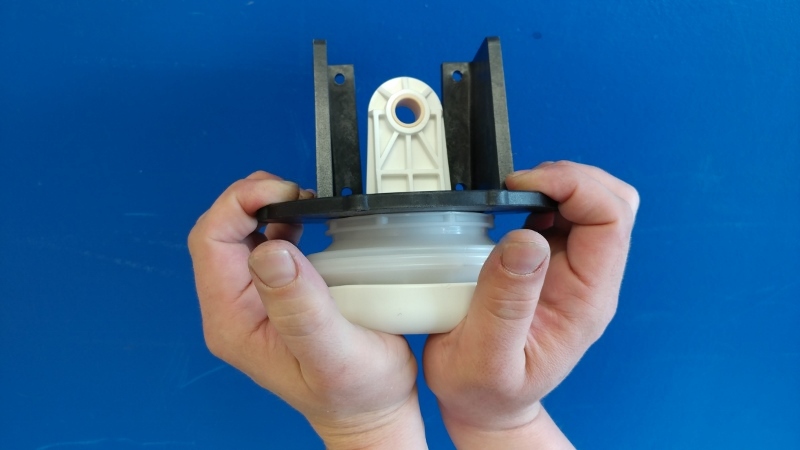
STEP 3: The o-ring should not be visible from the side view. It will be sealing the bellows opening to the pump top inside the bellows lip itself.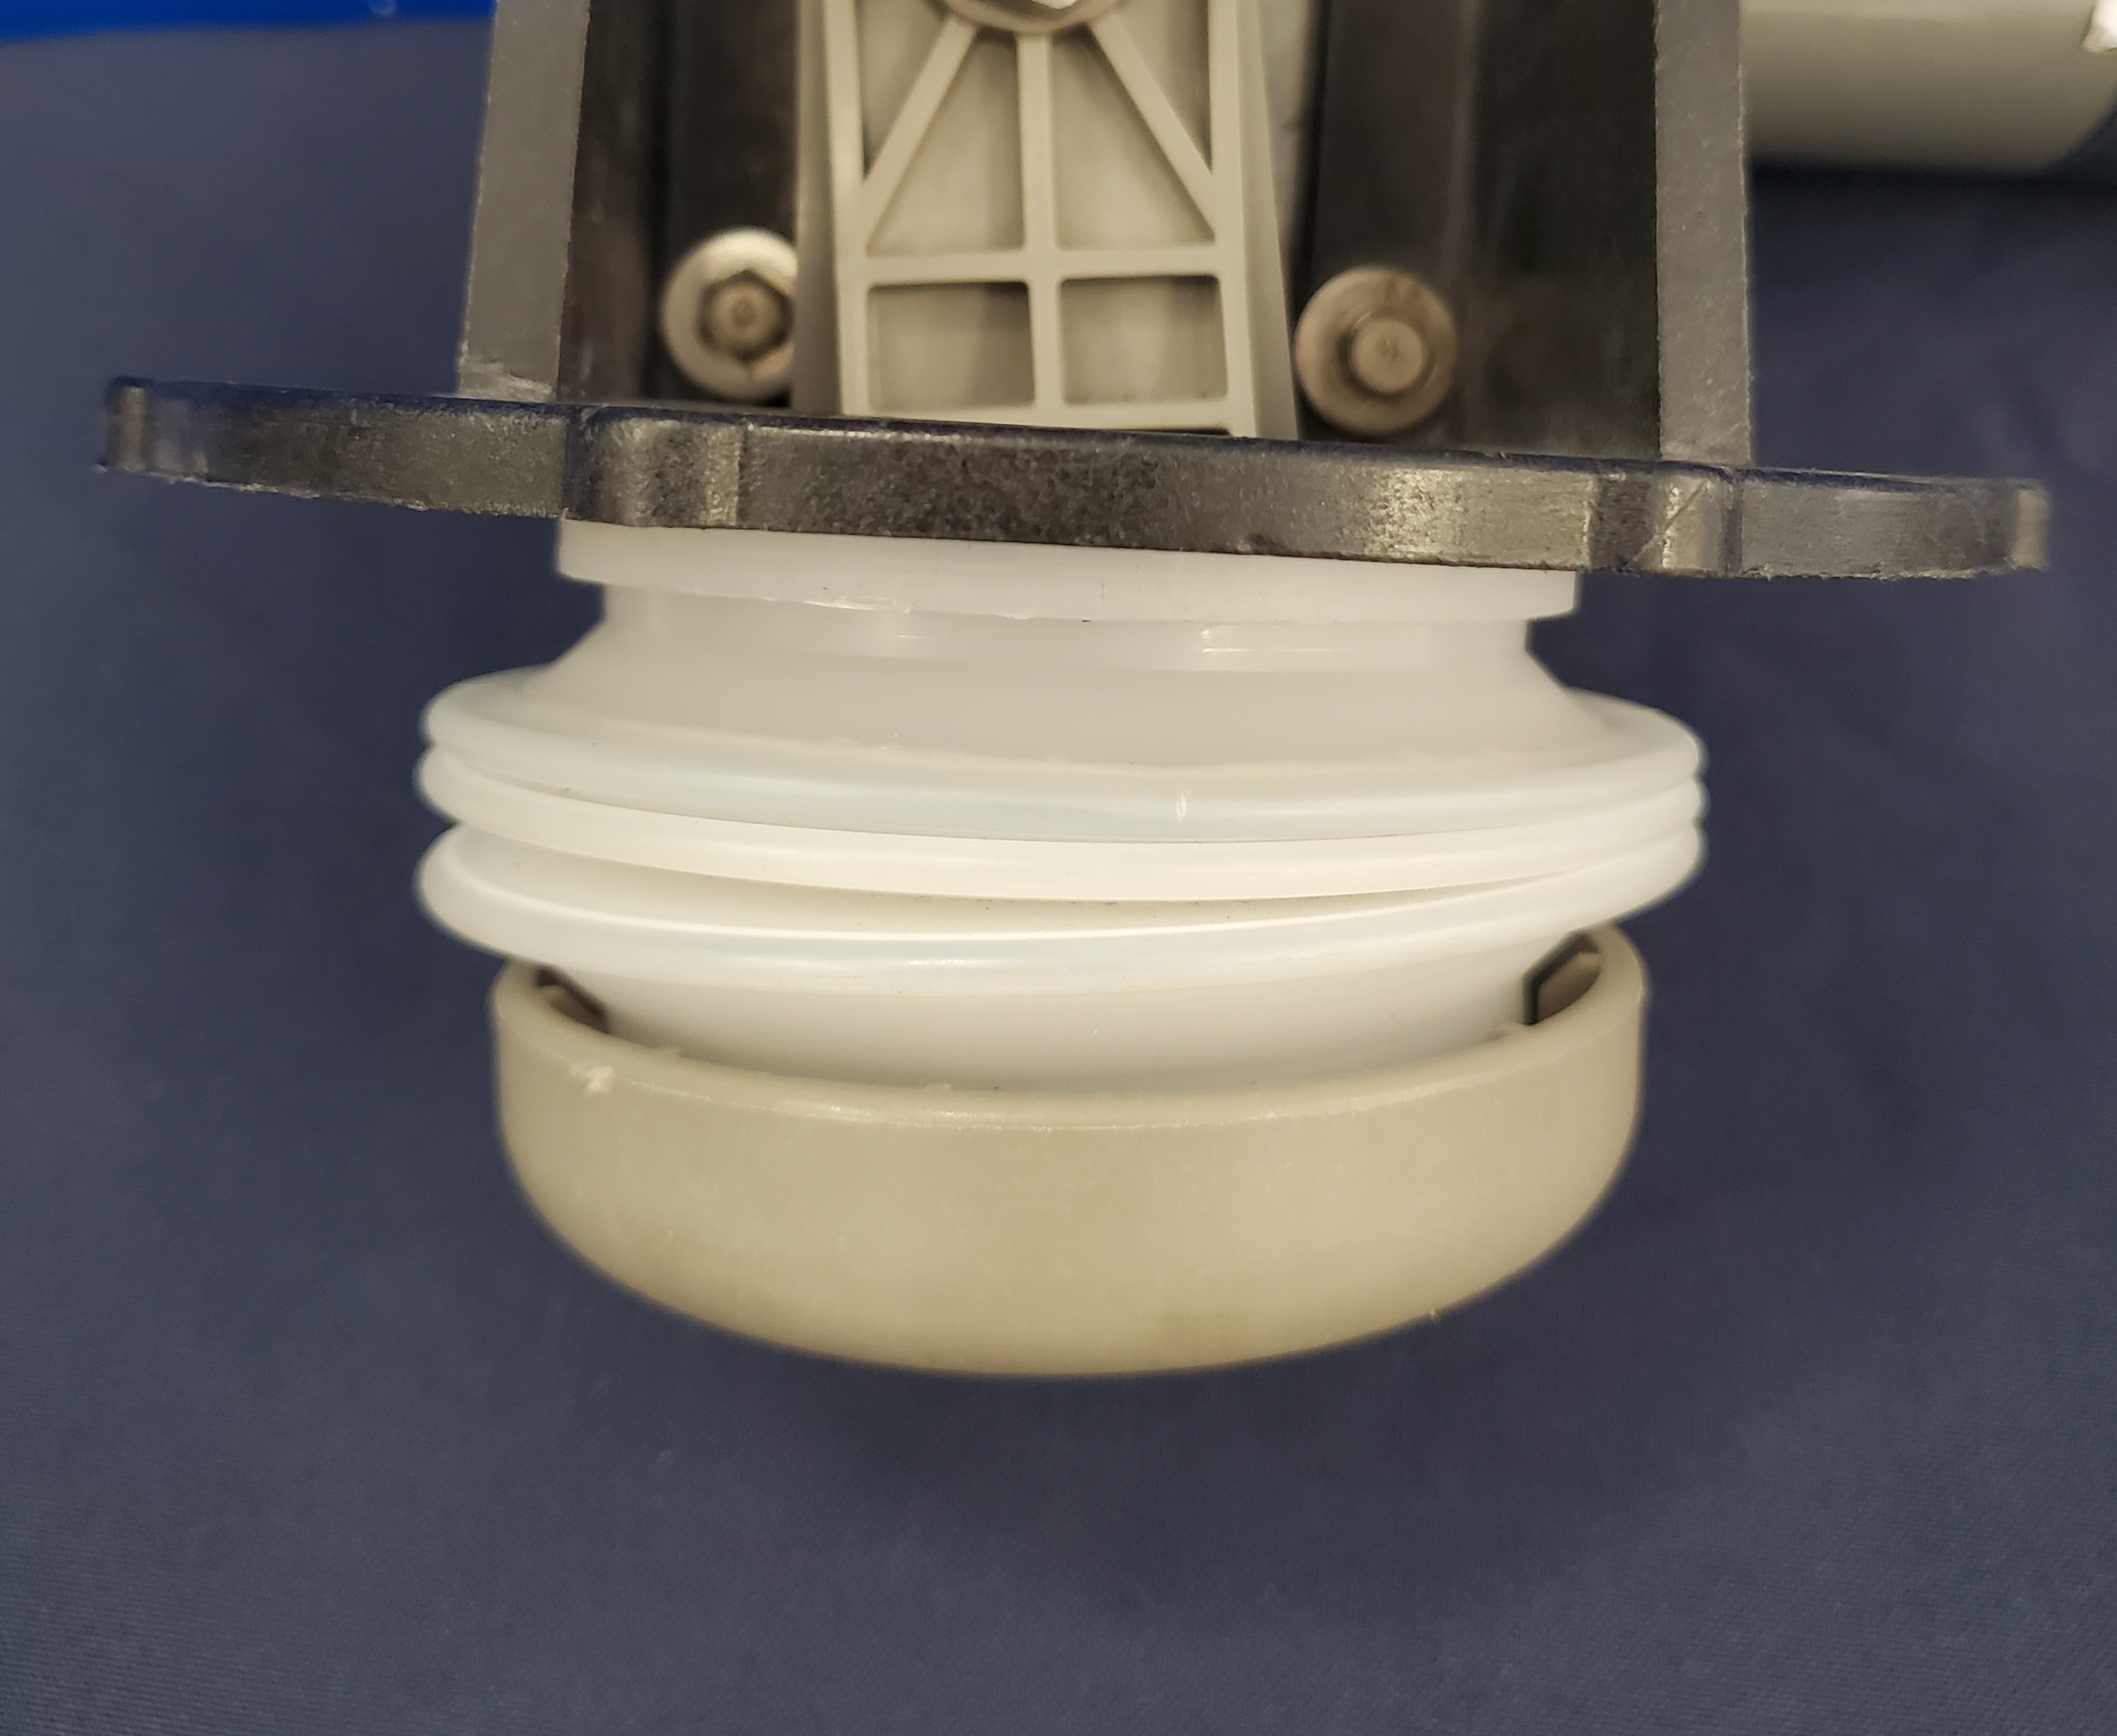
STEP 4: Clamp the bellows onto the lid. The flat side of the clamps should be up, against the lid.
Warning: This item may contain ingredients that are listed under P65warnings.ca.gov


")

